Thursday, April 28, 2011

Project 12 - March 2011

Hello!

As usual, I'm working until the last minute. :D  Here's my Project 12 layout for March!
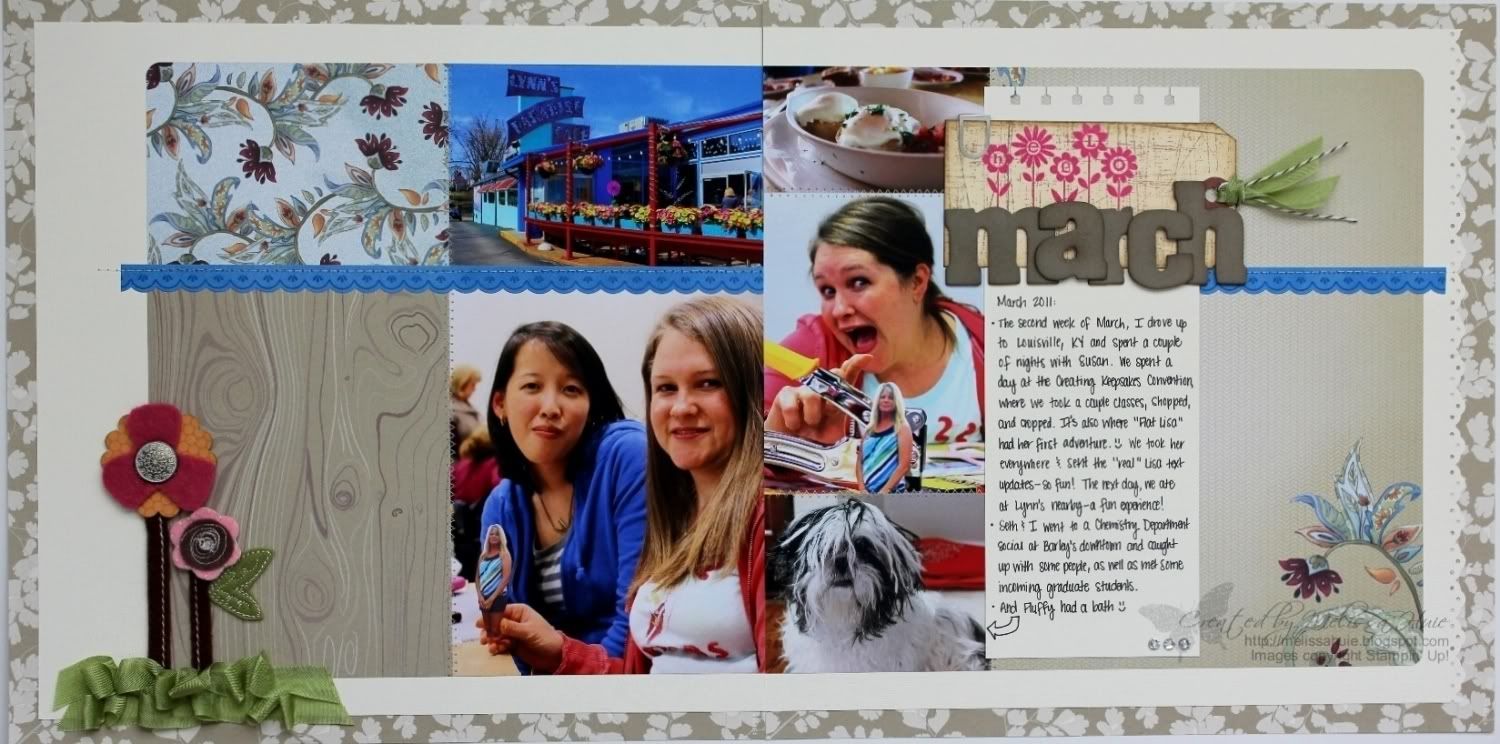

This page isn't too detailed this time.  I did do a lot of stitching between the papers and pictures, and I may add some buttons or something later.  I cut some of the felt trim in half to create the flower stems, and layered some Pear Pizzazz seam binding ribbon to create grass, randomly pleating it.
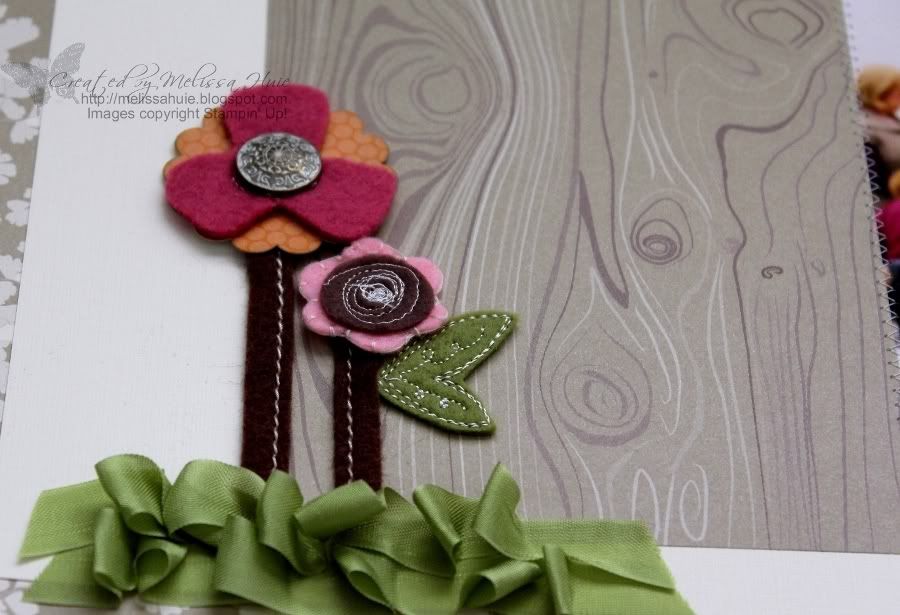

Here's the 1st page by itself:
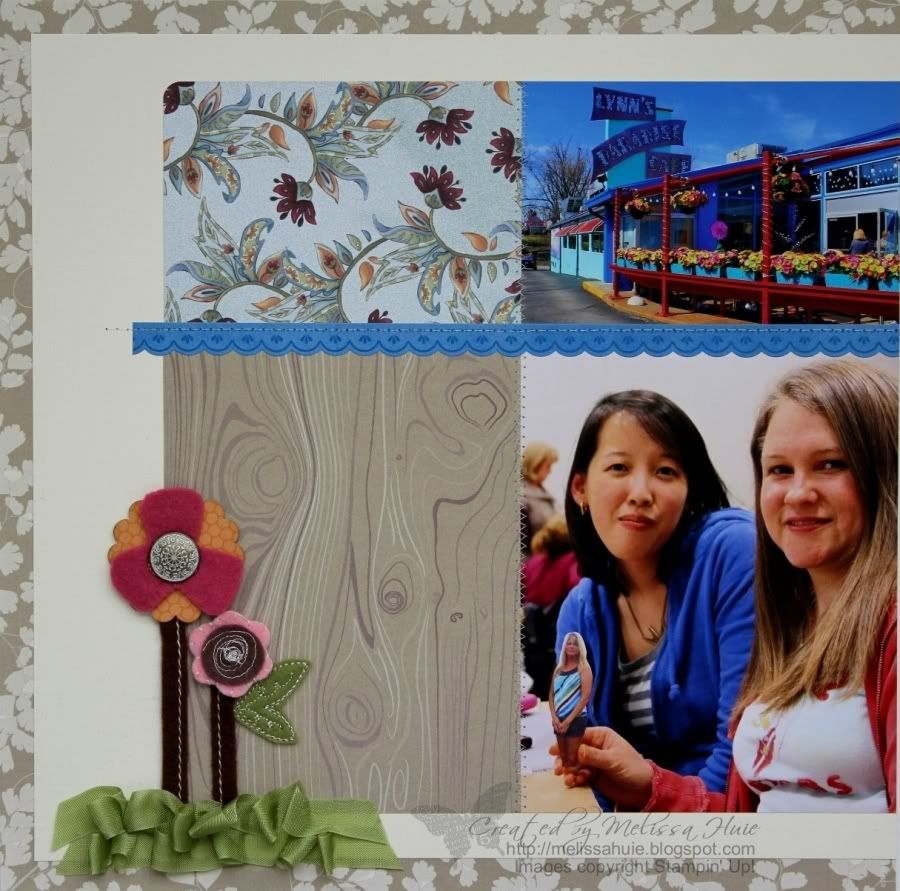

Here's the 2nd page by itself, where you may be able to see my journaling better:


Yes, we printed out a picture of our dear friend Lisa, who couldn't come along with us to CKC in Louisville last month.. "Flat Lisa". :D  It was so fun to text her with pictures of her adventures... mammoth water bottles and all!  Haha!  We love you Lisa :) ♥♥
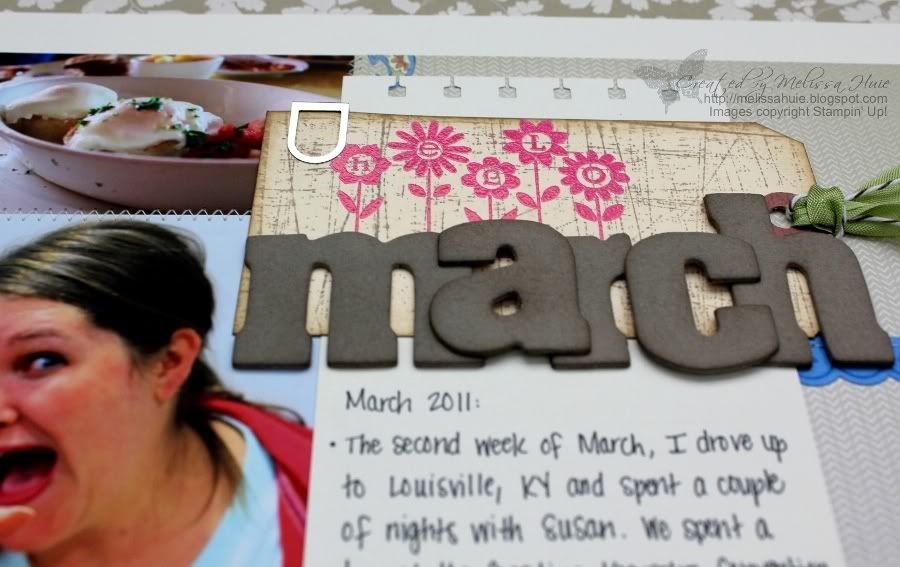

I just love that the title letters almost look like plant pots!  I inked the chipboard with Crumb Cake Craft ink, then when it dried I inked up the edges using Soft Suede.  To create the "hello", I stamped the upcoming Hello Blossoms stamp with VersaMark on the tag, then embossed it with the new Melon Mambo Stampin' Emboss powder!  (I'm so excited that we're getting embossing powder in "colors"! :)  Hope the offering is expanded even more!)

Susan and I went to CKC on Friday (as well as the big flea market next door).  I plan on making a mini album of my trip. :)  Susan took me to this awesome place called Lynn's Paradise CafĂ© nearby... definitely delish!  The wait times can be very long, so make sure you don't arrive hungry. ;)  I meant to put a small picture of this on my layout, but I ran out of printer ink.  I had a yummy coffee drink called a Nut Tree Latte, in a fun mug shaped like a cowboy boot!  Yum!


I'll share more pictures of Lynn's when I create my mini, which I hope is sometime soon! :)  Thanks so much for stopping by!

Project 12 - March 2011 page supplies:
Stamps:  Hello Blossoms (available May 1st), Sanded background stamp
Ink:  Soft Suede Classic ink, Crumb Cake Craft ink, VersaMark ink
Paper:  Very Vanilla cardstock, Woodland Walk Designer Series Paper, Paisley Petals Designer Series Paper, Ice Cream Parlor Accents
Accessories/Tools:  Melon Mambo Stampin' Emboss Powder (available May 1st), Pear Pizzazz Seam Binding Ribbon, Early Espresso Baker's Twine (available May 1st), Alpine Ribbon Originals (retired), Sweet Pea Felt Flowers (retired), Clips Assortment, Antique Brad, Rhinestone Basic Pearls, Eyelet Border Punch, Spiral Punch, Corner Rounder Punch, Basic Black Stampin' Write Journaler, Stampin' Sponge, shipping tag, sewing machine and vanilla thread

Wednesday, April 20, 2011

Botanical Thanks card

Hello!!

Just a quick post today - I have been meaning to share this card!  I actually created it as part of a contest entry [which arrived at its destination nearly two weeks after its expected delivery date... after winners were chosen!  Ahhh.. oh well!] and I think it's safe to share it now. :)


Not too complicated of a card, but just a lot of layers!  I used a lot of my favorite items from the Occasions Mini (which by the way, is ending April 30th!  Did you get the items you were wanting?).  The beautiful frame around the sentiment is part of the Four Frames stamp set, available through April 30th as a sneak peek item.. after that, you'll have to wait until July 1st! :)

I colored in the flowers and the bee's body with ink pads and a Blender Pen, and then created some shading using the same colored Stampin' Write markers.  I also stamped the bee onto vellum and cut it out, layering it on the other bee to add dimension and make the wings look more real.  Then I added a touch of sparkle using the Smooch Illuminate Top Coat.

Oh!  I noticed that I hit over 100 followers.. how awesome!  Thank you, everyone, for always stopping by and reading my blog!  Like I talked about before, I will have a giveaway to celebrate the occasion... look for more details on that soon!

Thanks for stopping by!  Hope you have a fabulous day!

Botanical Thanks card supplies:
Stamps:  Nature Walk, Four Frames, Occasional Quotes
Ink:  Early Espresso, Old Olive, Rose Red, Not Quite Navy, More Mustard, Soft Suede
Paper:  Soft Suede, Very Vanilla, Not Quite Navy, Baja Breeze, and Old Olive cardstock, Botanical Gazette Designer Series Paper, Vellum Paper
Accessories/Tools:  Rose Red Seam Binding Ribbon, Blender Pen, Smooch Illuminate Top Coat, Rhinestone Basic Jewels, Decorative Label Punch, Lots of Labels Sizzlits die, Framed Tulips Textured Impressions Folder, Big Shot

Tuesday, April 12, 2011

Memory Makers Magazine April Blog Bounce


Hello everyone!  Welcome to this month's blog bounce!

If you've been hopping along in order, you may have just arrived from Lain Ehmann's blog, Layout a Day.  If not, feel free to keep going after my blog, or head on back to the Memory Makers Magazine blog to begin the blog bounce!

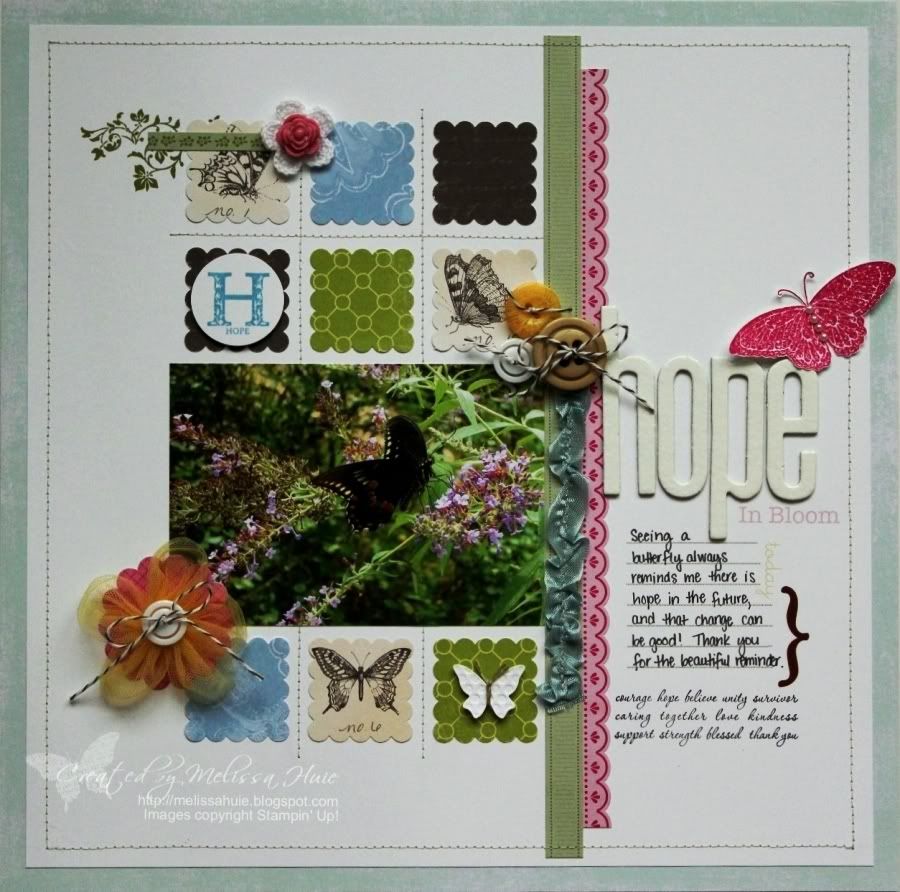
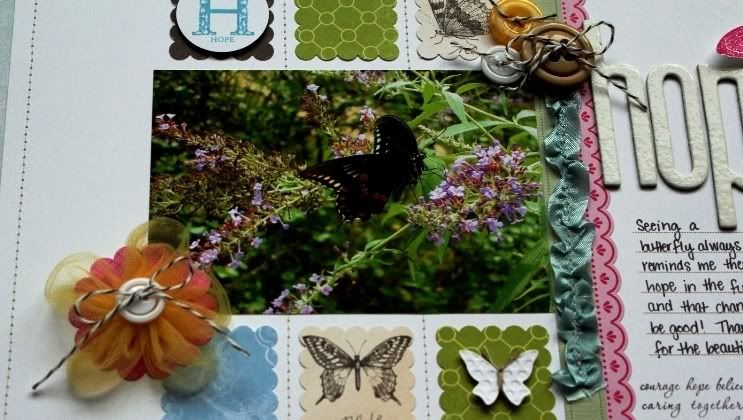
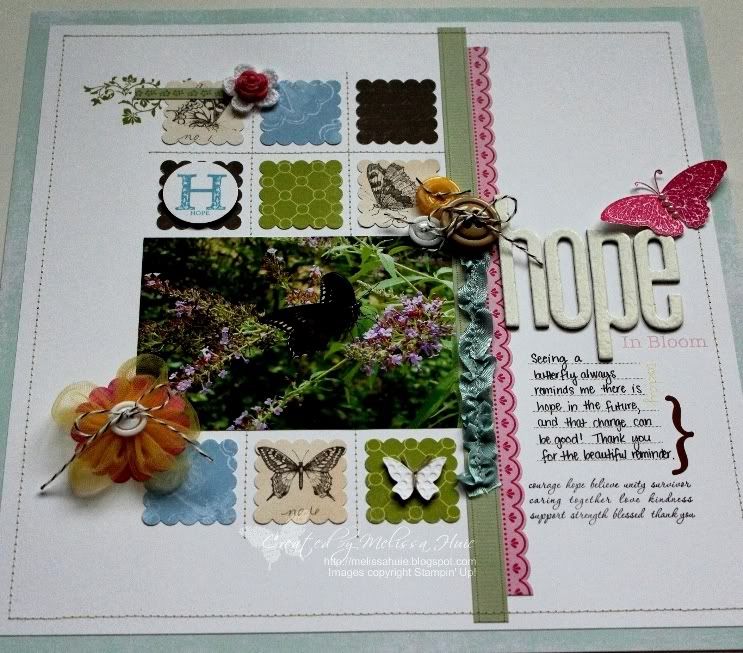
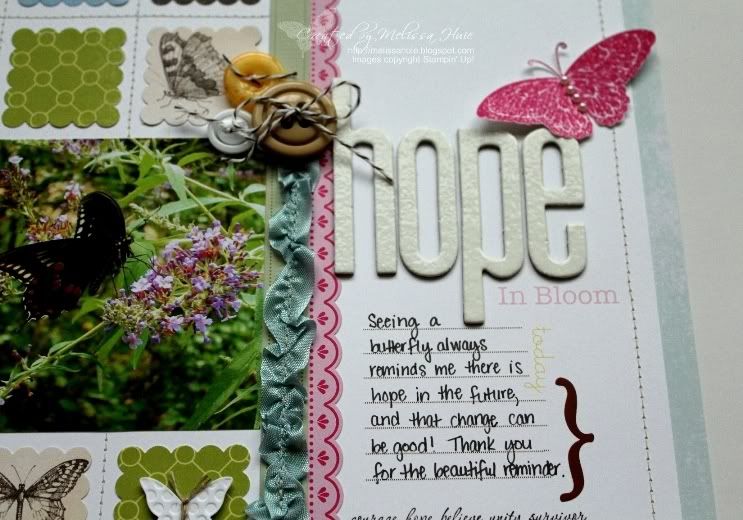
Our theme this month is "_____ Blooms", using some products from the Making Memories Dilly Dally line.  I decided to showcase my favorite insect - the butterfly.  Butterflies always remind me that change is inevitable, yet can be a good thing.  Butterflies instill hope within me, and allow it to "bloom", if you will. :)


I used this sketch here by Becky Fleck, punching my patterned paper into scalloped squares, and sewing grid lines to complete my arrangement.  I added a couple of border strips from the Ice Cream Parlor DSP & Quick Accents Pack (retired, from Sale-a-bration 2011), then sewed around the perimeter of the layout.


To create my title, I inked the chipboard letters with Whisper White Craft ink, then covered them with White Stampin' Emboss Powder and heated the powder to melt.  I repeated this a couple times to give the letters a nice and smooth look.  "In Bloom" is a rub-on, as is the journaling section.


The Baja Breeze Seam Binding Ribbon was gathered by pulling a thread in the middle of the ribbon, then sewed onto the layout.


Don't you love the pink butterfly?  It's a sneak peek of the Strength & Hope stamp set (also contains the words below the journaling and the "H-hope" in the circle on the left of the layout), which will be available in the Summer Mini Catalog on May 1st.  Stampin' Up! is donating $2 of each purchase of the Strength & Hope stamp set or digital kit to The Breast Cancer Research Foundation, a wonderful way to help make a difference.

Hope you enjoyed reading about what "blooms" for me! :)  Your next stop is Susan's blog.. I hope you enjoy the Blog Bounce, and thanks for stopping by!

"hope in bloom" scrapbook page supplies:
All supplies by Stampin' Up! unless otherwise noted
Stamps:  Vintage Vogue, Strength & Hope (available May 1st)
Ink:  Old Olive, Early Espresso, Melon Mambo, Whisper White Craft ink
Paper:  Whisper White cardstock, Botanical Gazette and Paisley Petals Designer Series Paper, Ice Cream Parlor Designer Series Paper & Quick Accents Pack; other patterned paper [Making Memories]
Accessories/Tools:  Alphabet Soup Chipboard, White Stampin' Emboss Powder, Springtime Vintage Big Designer Buttons, Brights Designer Buttons, Neutrals Designer Buttons, Fleurettes II Accents & Elements, Pearl Basic Jewels, Early Espresso Baker's Twine (available May 1st), Baja Breeze Seam Binding Ribbon, 1-1/4" Circle and Scallop Square Punches, Beautiful Wings Embosslits die, Big Shot, sewing machine and kraft thread; rub-ons, fabric flower, and plastic flower [Making Memories]

Friday, April 1, 2011

A retro birthday

Happy Friday!

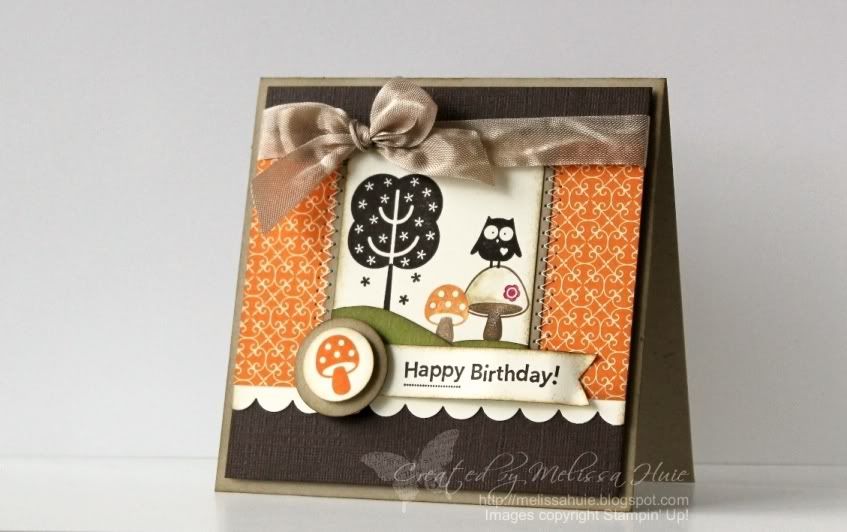
Just a quick post... today I have a card to share with you!  I loved the sketch for Mojo Monday this week, and it worked out perfectly with how I envisioned my card..


I love those little mushrooms, don't you?  :)

I did a bit of masking and sewing on here, and used my rotary blade from the Cutter Kit to create my grassy hills.  The card itself is 4-1/4" x 4-1/4".  I love how it turned out!

Well, I have to run!  Thanks for stopping by!

Retro Birthday card supplies:
Stamps:  Funky Four, On Your Birthday, Love Bandit (retired)
Ink:  Early Espresso, Soft Suede, Pumpkin Pie
Paper:  Crumb Cake, Early Espresso, Very Vanilla, and Old Olive cardstock, Sweet and Sour Specialty Designer Series Paper
Accessories/Tools:  Crumb Cake Seam Binding Ribbon, 3/4" Circle Punch, 1" Circle Punch, Scallop Edge Punch, and Pumpkin Pie, Soft Suede, and Rose Red Stampin' Write Markers, sewing machine and vanilla thread
Monday, March 28, 2011

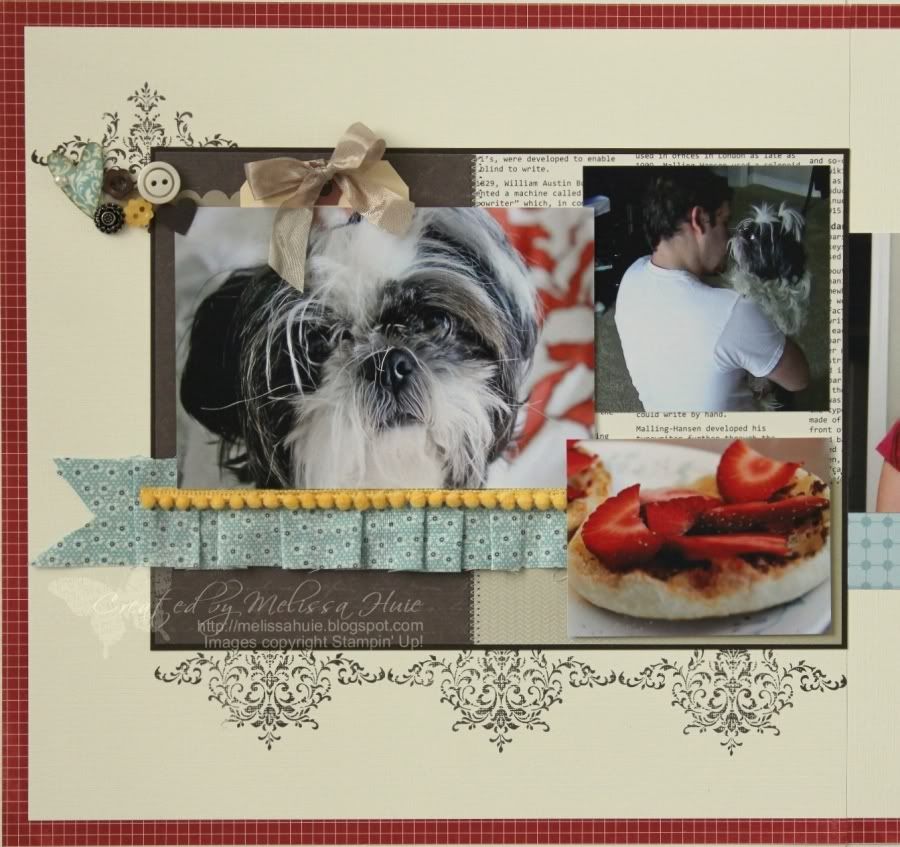
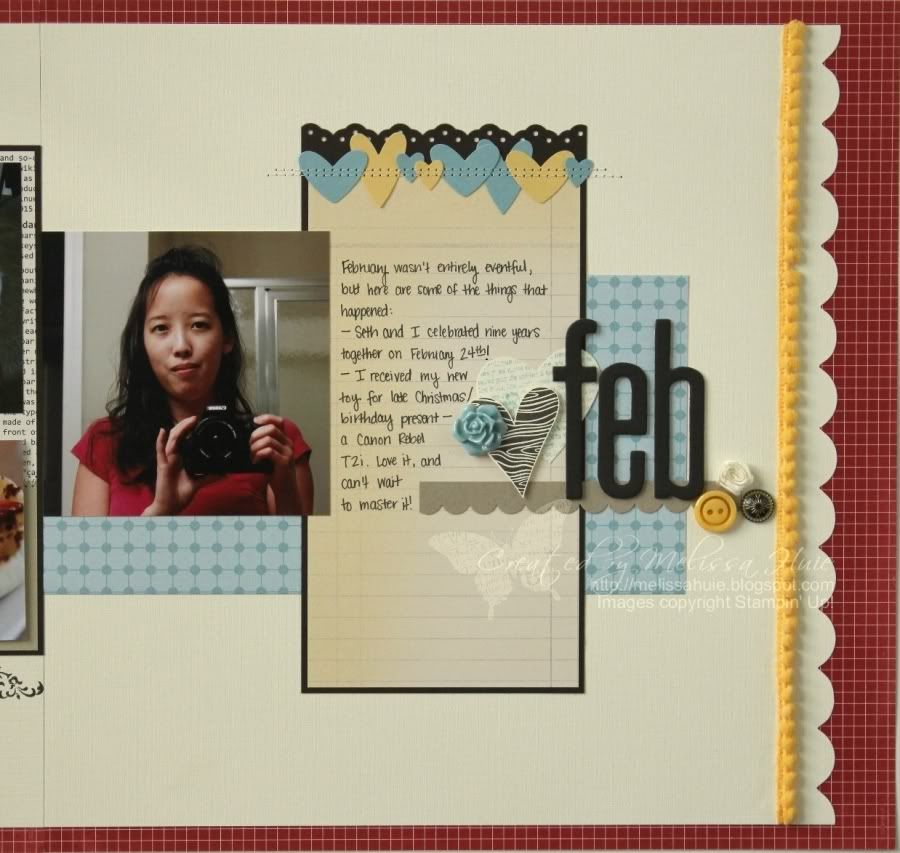
Project 12 - February 2011

Hello!  It's been a while, and I apologize!  I've been keeping very busy, tackling so many projects here and there.  Hopefully I can get back to a regular blogging schedule soon. :)

First, I wanted to acknowledge the sweet bloggers that awarded me with blog awards... the Stylish Blogger Award from Jenn and Jennifer, and the Versatile Blogger Award from Jade.  Thank you, ladies!  I'm very flattered!  :)  If you would like to see my tell-all post (well, not really, haha), please click on over to this post!

I finished my Project 12 layout for February!  You can see the February sketch at the Scrapbook & Cards Today blog here.

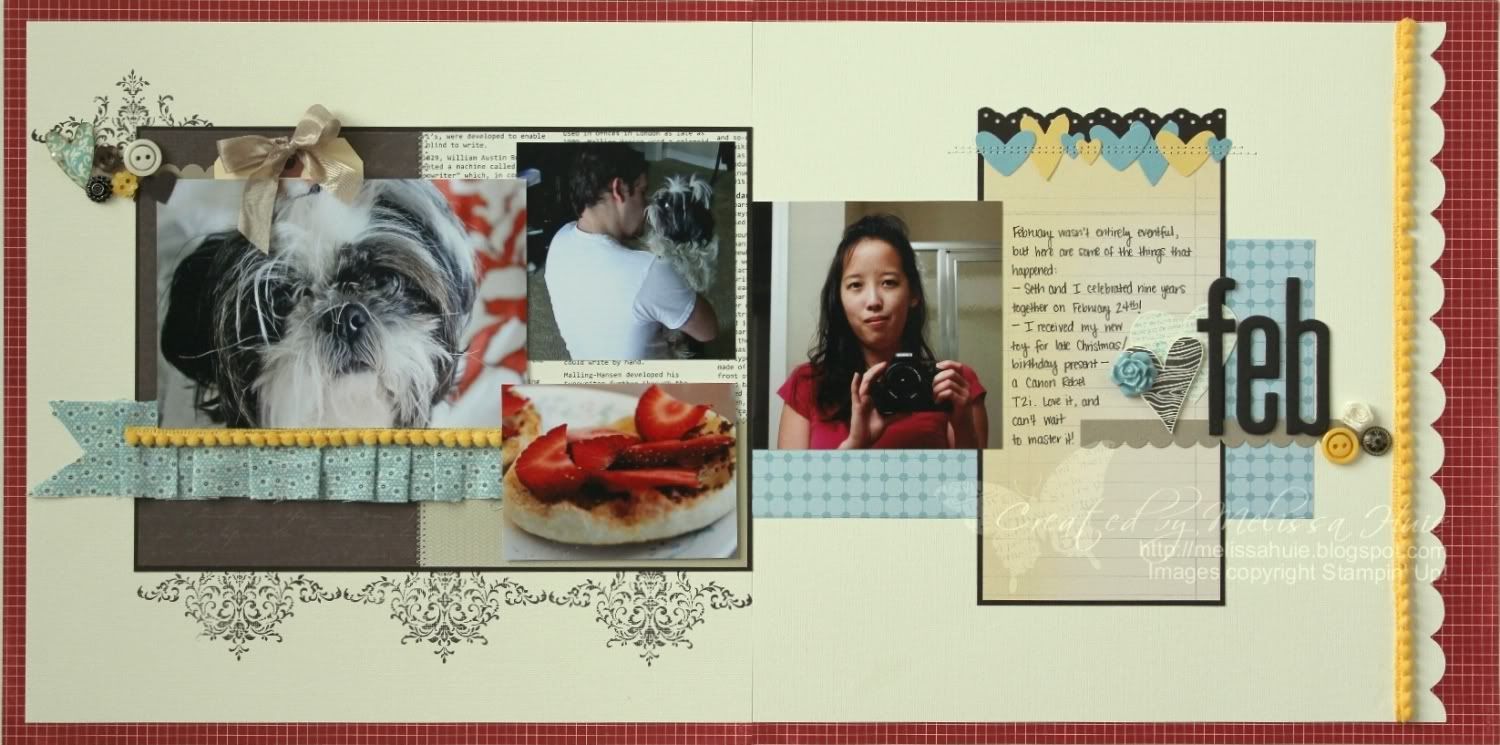
Not much happened in February.  I did get my fancy new camera. :)  And Seth and I celebrated our 9 year anniversary!  Where does the time go?


I love how the red grid paper from the Love Letters DSP pops as my background!  And I noticed that I used Baja Breeze again.. can you blame me?  It's such a pretty blue, so you know how happy I was last year when Stampin' Up! added it to their core color collection!  You know I also had to add in my Crumb Cake there as well!

Here is the left page:


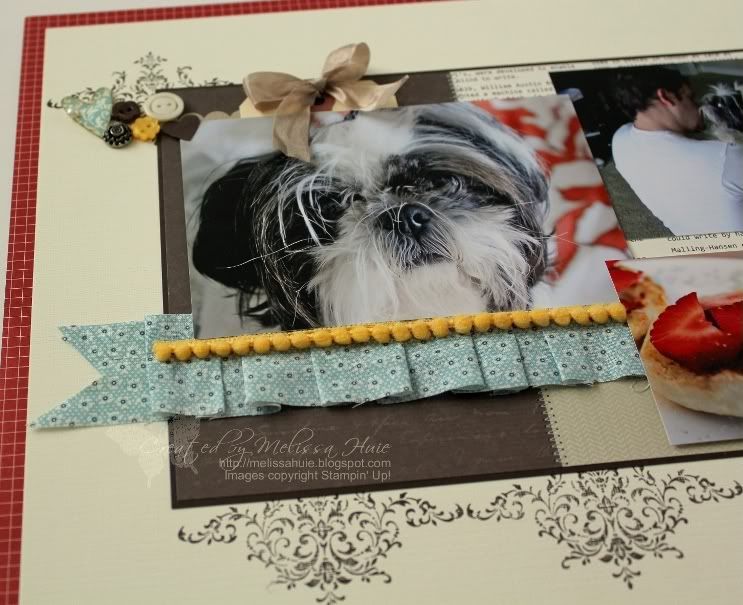
I did a bit of stamping with one of my favorite sets, Bliss (which don't forget, you can get for free as part of Sale-a-bration!)... and some sewing to connect my different patterned papers.  I sewed a little fabric in a ruffle below Fluffy's picture, and did some button and punch layering over in the top corner.

(Have you ever tried an English muffin, toasted, with some chocolate hazelnut butter, topped with sliced strawberries?  YUM!)


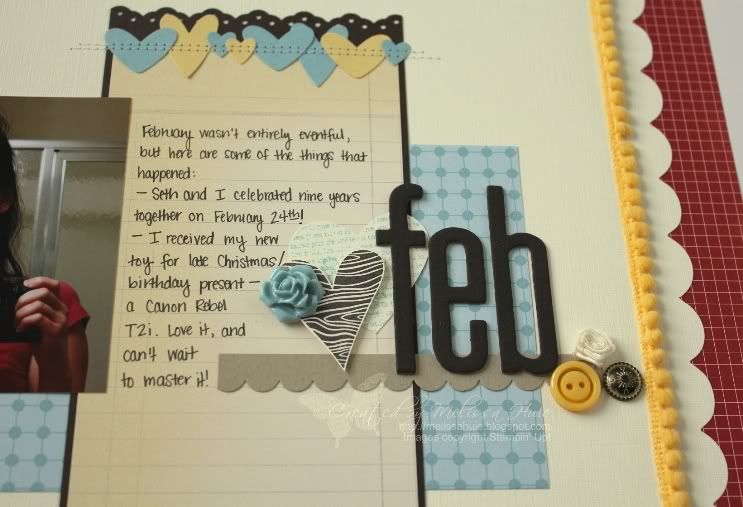
On this page.. well, I cut a strip of the large scallop using the Tasteful Trims Bigz XL die, and hid the seam with the Daffodil Delight pompom trim.  Some more layering with the smaller punched scallop border and a button, brad, and rosette.  I inked the chipboard letters with Early Espresso Craft ink.. love that font!  I adhered a bunch of punched hearts along the top edge of my journaling area, and sewed two lines over top.  (Yes Barb, I am so glad I had the guts to try sewing on my paper crafts!! :) )

Here are some angled shots... :)


So I noticed that I am almost at 100 followers!  I know that may not be very much to some people, but to me it's a big number!  I really appreciate all of you readers, and the friends I have made through blogging. :)  I'm thinking of doing a giveaway once I hit 100!  Yay!

Ok, I need to run!  Thanks so much for stopping by!

Project 12 February layout supplies:
All supplies by Stampin' Up!
Stamps:  Bliss, I {Heart} Hearts, Punch Potpourri
Ink:  Early Espresso, Baja Breeze
Paper:  Very Vanilla, So Saffron, Baja Breeze, Early Espresso, and Crumb Cake cardstock, Love Letters Designer Series Paper, Urban Garden Designer Series Paper, Botanical Gazette Designer Series Paper, Paisley Petals Designer Series Paper (available next month!)
Accessories/Tools:  Springtime Vintage Designer Fabric, Daffodil Delight Pompom Trim, Crumb Cake Seam Binding Ribbon, Ice Cream Parlor Button (Sale-a-bration), Pearl Basic Jewel, Antique Brads, Neutrals and Brights Designer Buttons, Vintage Flower Adornment, Vanilla Rosette, Alphabet Soup Chipboard, and Heart-to-Heart, Full Heart, Small Heart, Eyelet Border, and Scallop Edge Punches, Tasteful Trim Bigz XL die, Big Shot, sewing machine and vanilla thread
Thursday, March 17, 2011

For Japan with Love ♥

Hello, everyone!

I just wanted to let you know that I have been working on some projects, and will share soon.


Also, I wanted to bring your attention to what I will be participating in tomorrow, the Bloggers Day of Silence, in support of Japan.  I encourage you to donate, if you can, to relief efforts... anything helps.

Please visit For Japan with Love for details on how to help, and please spread the word.  Thank you so much!

Monday, March 7, 2011

Memory Makers Magazine Blog Bounce - My favorite treat!


Hello and welcome to another Memory Makers Magazine Blog Bounce!

This month, we're showcasing our favorite treats!  You may have just hopped on over from Michelle Coleman's blog, but if not... don't worry!  You can continue on through my blog, or you can start from the Memory Makers Magazine blog.  Hope you enjoy the blog bounce!

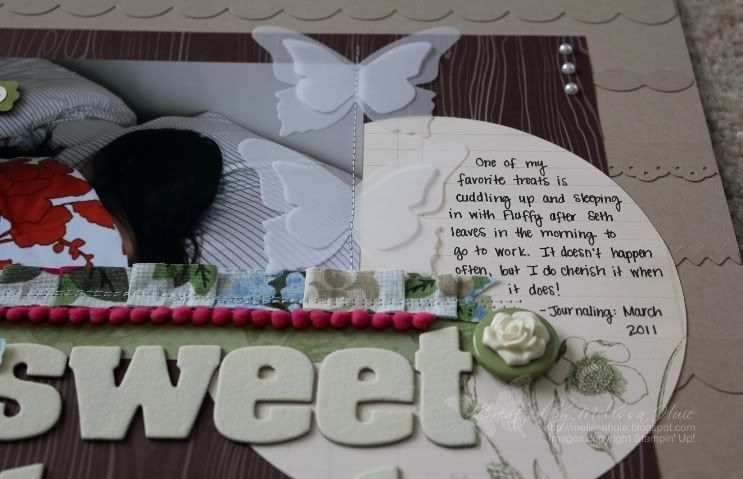
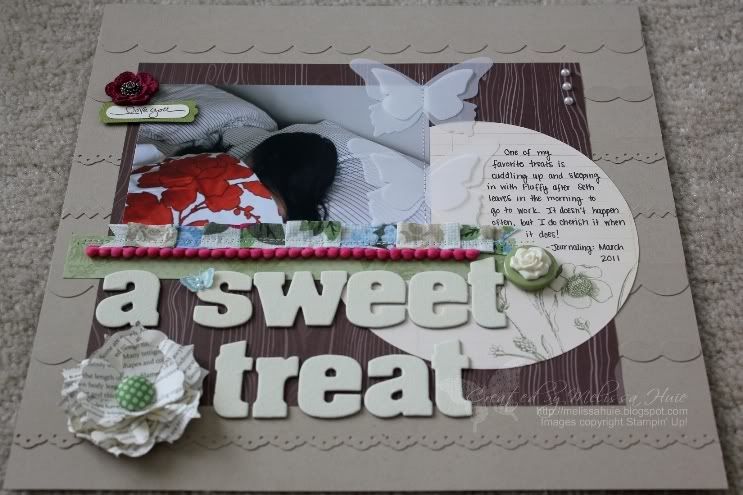
One of my favorite treats is sleeping in with Fluffy.  Usually we try and sneak in an extra 30-45 minutes or so of snooze time after Seth leaves in the morning to his research lab at the University of Tennessee.  Seth generally gets Fluffy breakfast (she eats 3x a day like a human) when he gets up, then she loves to take a nap after that!  She makes sure he remembers, too. :)  What's funny though, is that it's almost always hard for me to get Fluffy up after this nap.  She just doesn't want to get up!  Such a sweet little lazy thing.  LOL

It was quite the challenge to get this picture, setting up our tripod and self-timer.  There were so many hilarious outtakes, what with Fluffy's crazy expressions and all!  I'm sure she thought I was absolutely insane, taking pictures of us "sleeping".. hehe!


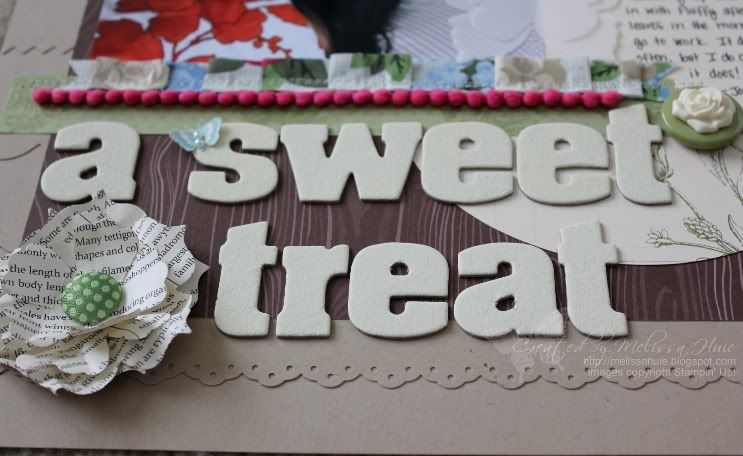
I'm super happy with my page!  Definitely one of my favorites. :)  I've created a background with border strips before, but only on a card.. this was my first time trying it out on a scrapbook page.  I used the Tasteful Trim Bigz XL die from Stampin' Up!, as well as the Eyelet Border punch.  The purple crochet flower at the top started out white, and I dyed it using the Rich Razzleberry classic ink refill, diluted with water.  Love how that turned out!  The large circle on the right was cut from the beautiful Botanical Gazette Designer Series Paper with the Circle Scissors Plus (6" circle), and it was the perfect journaling area.


Aren't the butterflies sweet?  I cut them out of vellum paper (thinner than the vellum cardstock) with the Beautiful Butterflies SU! die.  I wanted to create a light, airy look, so I sewed them to the layout.  I love how the vanilla flower adornment looks with the big button here - just like a cameo!  And if you didn't already realize how much I love the pompom trim.. well, I just wish SU! came out with it in so many more colors!

Here are a couple more shots to show you the details and layers (click to see a larger photo):


The flower here at the bottom was created using the Fun Flowers SU! die - I crinkled up multiple layers and added a fun fabric brad in the middle.


Ok, your next stop is Wendy Smedley's blog, which can be found here.  I can't wait to see what her favorite treat is!  Thanks so much for stopping by!


"a sweet treat" scrapbook page (12" x 12") supplies:
All supplies are by Stampin' Up!
Stamps:  Short & Sweet, Clearly for You
Ink:  Chocolate Chip, Baja Breeze, and Very Vanilla Craft ink, Rich Razzleberry Classic ink refill
Paper:  Crumb Cake, Old Olive, and Very Vanilla cardstock, First Edition Specialty Designer Series Paper, Botanical Gazette Designer Series Paper, Woodland Walk Designer Series Paper, Vellum Paper
Accessories/Tools:  Springtime Vintage Designer Fabric, Melon Mambo Pompom Trim, Fleurettes II Accents & Elements, Vintage Flower Adornment, Springtime Vintage Big Designer Button, Pearl Basic Jewels, Antique Brad, Sweet Stitches Fabric Brad, Alphabet Soup Chipboard Letters, Eyelet Border, Word Window and Modern Label Punches, Fun Flowers Bigz Die, Beautiful Butterflies Bigz Die, Tasteful Trim Bigz XL Die, Big Shot, Circle Scissors Plus & glass mat, sewing machine and thread